
Felt Hobby Lobby Present Dupe

I love seeing new decor at stores like Hobby Lobby, but I often wonder if I’d be able to make most of the decor I see. Naturally, as crafters, we love the challenge! Read on to learn how to make a smaller version of this felt present from Hobby Lobby.

Step 1: Find and cut cardboard
It was extremely difficult to find a larger square gift box that would work but was also affordable. I instead went the upcycled way. I cut four strips of cardboard from an Amazon package box and built my own.

Step 2: Fold cardboard
These strips already had creases so I would just fold them to the shape I wanted and used hot glue to hold it.
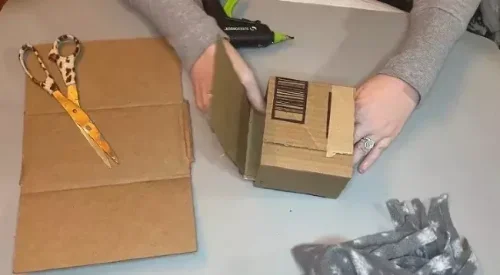
Step 3: Add sides
I kept adding the walls little by little by sticking the other cardboard sides through the whole in middle until every side had a wall.
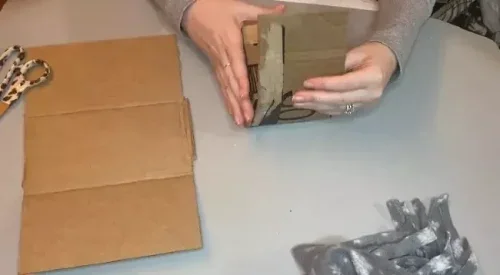
Step 4: Add lid
And the fourth cardboard strip for the fourth wall of the box becomes the lid to the box.
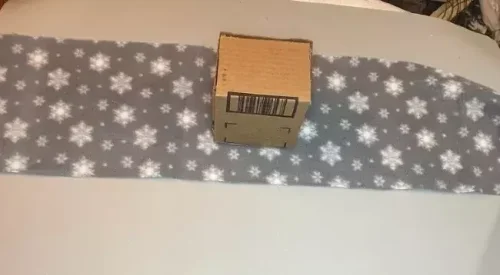
Step 5: Glue box to cloth
Next, lay your box on your felt or fur of choice! I decided to hot glue the scarf to every side of the box

Step 6: Trim box
Once it was completely glued to the box, all the way around, I cut off the excess.
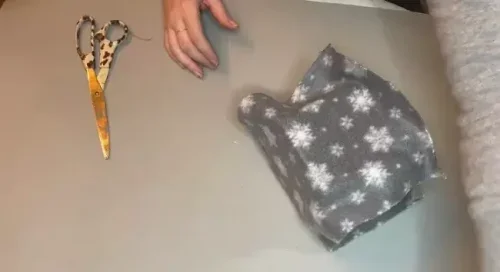
Step 7: Shape box
Here’s what it should look like after you cut off most of the extra pieces. I kept cutting all the way around until the felt didn’t have any extra pieces. Then I started wrapping this faux gift like a present!
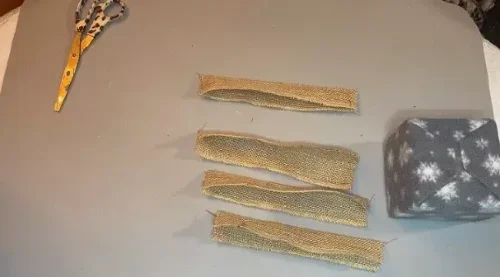
Step 8: Buy or cut burlap ribbons
After the present was wrapped, I started cutting out 4 burlap ribbons that would fit the present from top to bottom.
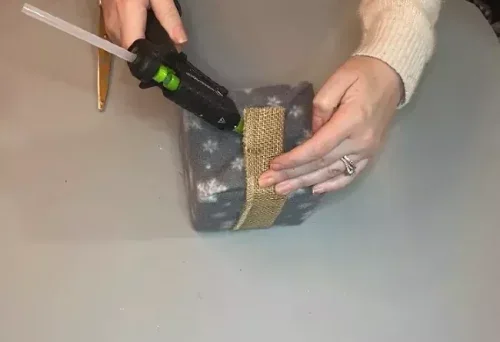
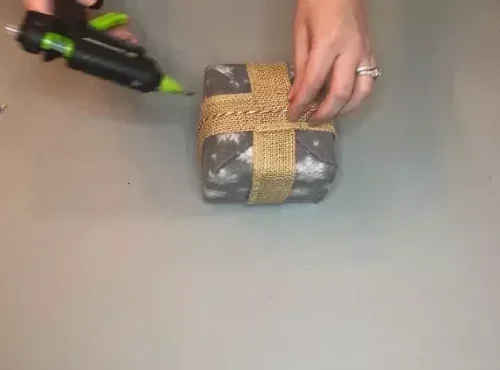
Step 9: Hotglue ribbons on
Here’s how I glued down the burlap ribbon from Dollar Tree. And I actually used a finger protector for once! Hot glue down each strip and start from the top first.
Step 10: Hotglue strings on
Once all the burlap was glued down on four sides, I tried gluing red and white string to the present to match the original. Hobby Lobby used white and burlap color shoestrings!
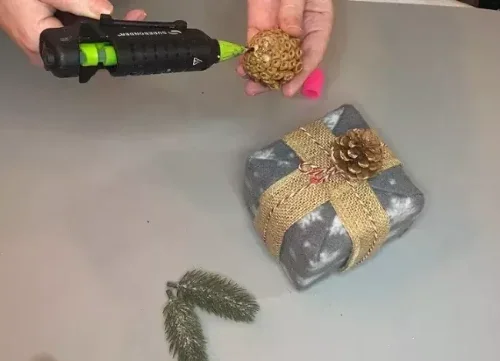
Step 11: Hotglue pinecones on
Then on top of the twine, I hot glued down some pine cones right on top. And then used Dollar Tree flocked snow branches to go in between the pine combs and also added two small jingle bells.
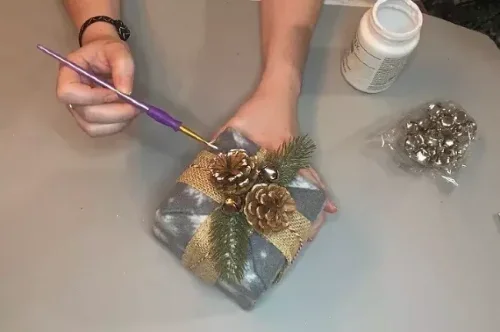
Step 12: Paint snow on pinecones
Once everything was added to this faux present, I realized it would look weird to have only a tiny bit of snow appearing on the pine cones so then I fully committed and painted them all.
Here’s how it turned out! I hope you enjoyed this article and if so, please consider commenting, liking or watching my video tutorial below for this craft and other dupes.
Watch the full tutorial from my YouTube channel, The Crafty Quinn!