
Dollar Tree Neutral Christmas Tree

I love neutral colors – for all holidays! If you’re like me and appreciate decor that is not bright red for the Christmas season, keep reading to learn how to make an affordable neutral tree with minimal crafting supplies.
Can you believe this was once a Dollar Tree candy dish?! Amazing what a little paint and wood can do! I’ll show you how to recreate this piece using the steps and photos below.

Step 1: Prepare dish
I love green, but this color simply won’t do for a neutral color scheme. To make the paint stick easier to the shiny coating, I used a sanding block I found at Dollar Tree in the tools section. I didn’t bother scratching ALL the coating off of this because that can be too time consuming. Doing a light sanding of this candy dish is enough to do the trick.

Step 2: Apply paint
Once the candy dish has been sanded, make sure to wipe all the dust off by shaking it outside or using a damp paper towel or microfiber dish. Once the dust is gone, feel free to start painting with the color of your choice. I used Waverly by Plaid’s “plaster” color chalk paint. It’s thicker in consistency and required about two coats max to completely cover this.
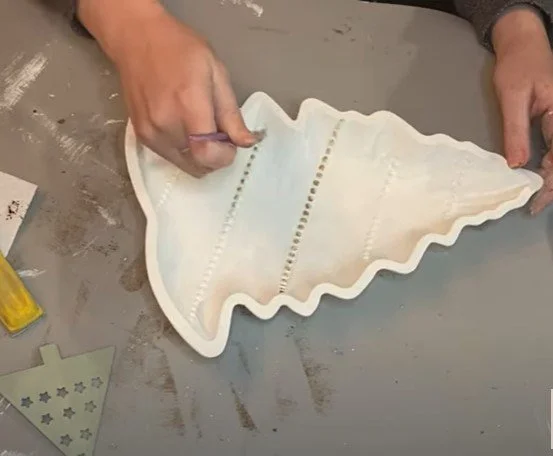
Step 3: Apply wax
Once the paint is dry, you can either take some diluted brown paint. (Dilute by doing half water and half brown paint.) Or, you can use Waverly antique wax and get the excess off using a paper towel before you use it on the candy dish. I used a tiny brush with a small amount of antique wax and brushed it over the bumps in this candy dish. Do this for all or some of the bumps on the tree dish. The bumps are supposed to look like a garland!
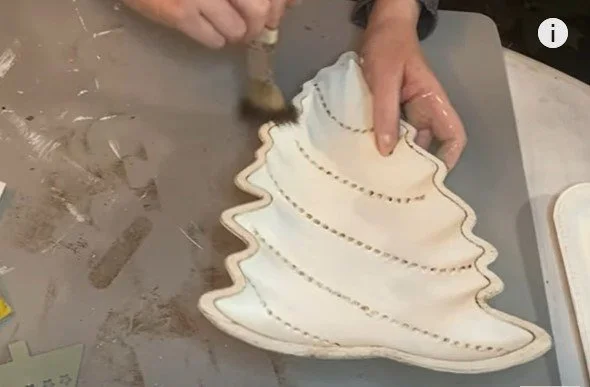
Step 4: Brush edges
I continued to use even more antique wax with a chippy brush – my favorite kind to use for farmhouse style crafts. I brushed the wax along the inner edge of the tree candy dish which gave this a nice outline. I was impressed overall with the quality of this Dollar Tree dish.

Step 5: Glue bow on top
Once all the antique wax had dried, I decided to go ahead and glue a fabric/ribbon bow on the very top of the tree dish as the “star” of the tree.

Step 6: Hold bow for 30 sec
The bow that you see is all ribbons from Dollar Tree including the burlap in the back of the bow. I didn’t show how to make this in the video tutorial that goes with this craft, but I place all the ribbons on top of one another to make an “X” shape and then cinch the middle using twine. I love to use this technique for pretty much all the bows I make for my crafts. When applying this to the glue, press down and hold for around 30 seconds to make sure it stays in place while the glue cools.
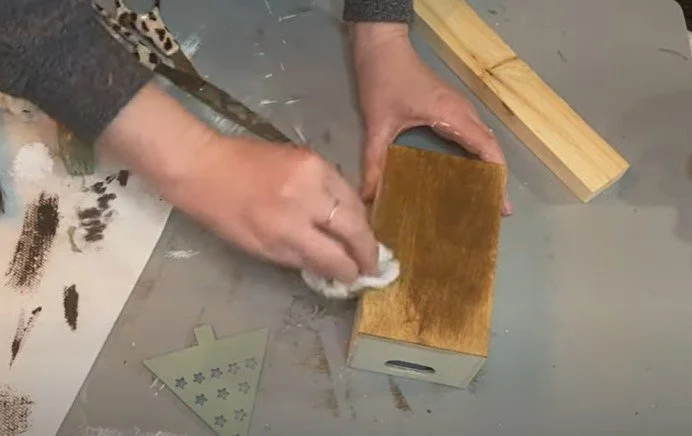
Step 7: Apply antique wax
Next, we are going to get the base of the tree prepared by using antique wax on this wood crate I found at Dollar Tree in their Crafter’s Square section. It’s a plain wood box with no coating so it’s easy to apply some antique wax to. However, I don’t want the wax to come out looking tooooo dark because it certainly can if you don’t dilute it and apply it as is. I personally use a makeup or baby wipe as you can see in the photo above to apply it to the wood crate. I recommend wearing gloves while applying antique wax as it can be difficult to get off of your hands if you wait too long. Cover the crate in the wax using the baby wipe and free free to apply more as you go if it looks too light in color.
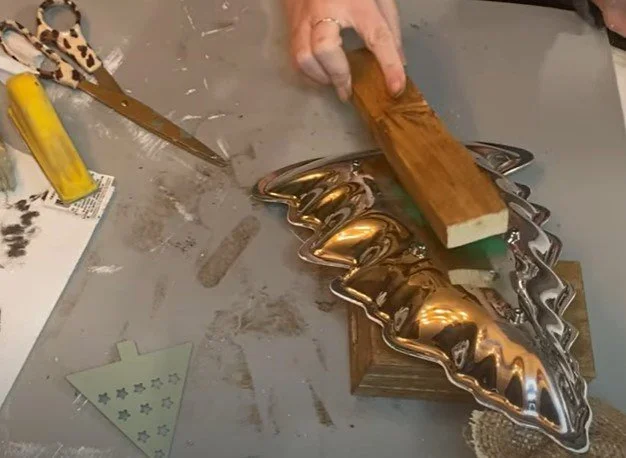
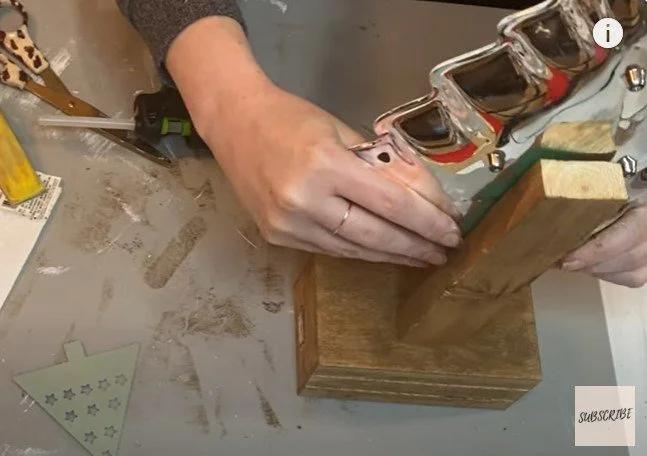
Step 8: Glue wood piece
I found a scrap wood piece in my basement and applied antique wax to this as well. This scrap wood will help the tree stand upright. I used gorilla glue to glue the scrap wood (after the wax was dry) to the middle back of the tree candy dish. I chose not to paint the back of this candy dish so the wood would stick easier to the candy dish. When gluing the wood piece to the back of the candy dish, make sure to press and hold down for about 30 seconds again while the glue cools. I glued this wood piece in a way where there would be a few inches of the wood going past the tree for a cleaner look.
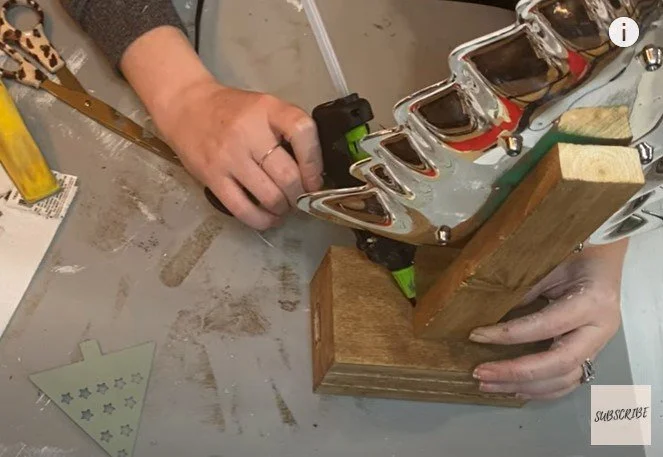
Step 9: Glue wood piece to base
Use a strong hot glue (I used Gorilla Glue for example) or glue half the area with a strong hot glue and the other half using a super glue to attach the candy dish on the scrap wood to the wood crate. I turned the wood crate upside down and then glued these pieces together.
Step 10: Hold pieces for 30 sec
Hold all the pieces together and in place for at least 30 seconds to secure them.
And that’s how you get the final look! For the video tutorial, I have this posted on my YouTube channel, The Crafty Quinn.