
Gingerbread Cookie Sheet Decor

Easy DIY Gingerbread Cookie Sheet Craft
If you’re looking for more gingerbread cookie crafts, try this super easy gingerbread cookie sheet craft using Dollar Tree materials and items in your home! In this article, I’ll provide you with the full list of materials as you read along.
Below is a step-by-step walkthrough of this craft that I first created on my YouTube channel, The Crafty Quinn.

Step 1: Paint gingerbread
First, I found these blank wood cutouts of gingerbread people at Dollar Tree. A bunch of these little guys come in a pack for $1.25! They were perfect to create “gingerbread cookies” with. I start by painting them with the color “hazelnut” that I found from Waverly by Plaid in Walmart’s painting/crafts section. It’s a chalk paint that dries pretty quickly.
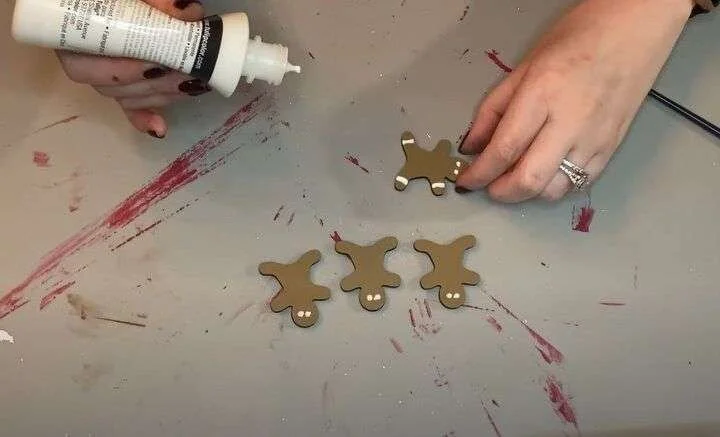
Step 2: Apply "Icing"
(Excuse the red paint on my crafting mat – that was from the gingerbread ladder project!) Next, once the paint had dried on the four cookies, I took white puffy paint from Michael’s craft stores and drew on faces and little designs.

Step 3: Add some color
You can mix things up by using other festive Christmas or holiday colors. In this photo, I’m using green puffy paint also found at Michael’s.
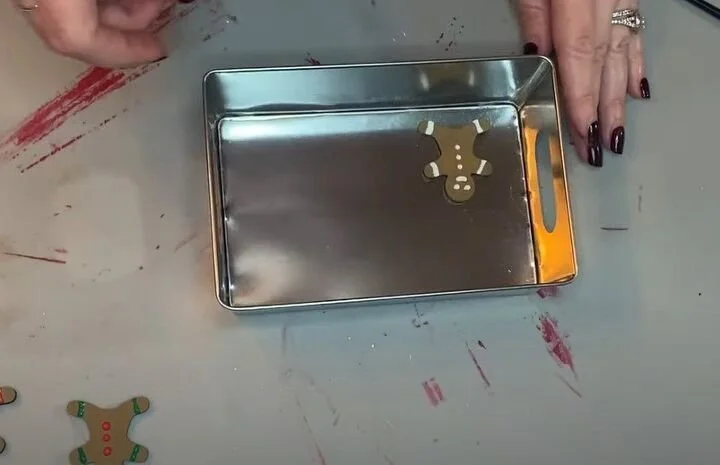
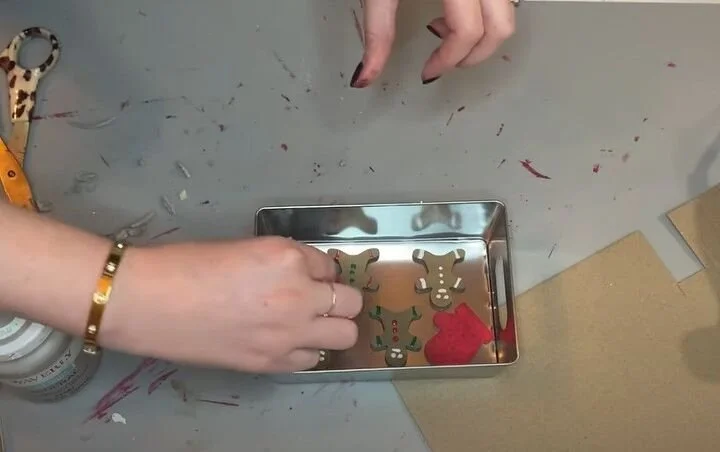
Step 4: Glue cookies to tray
Your gingerbread cookies are ready to be baked! Added to the cookie sheet I mean! I found this small metal tray at Dollar Tree in their Crafter’s Square section. Another idea would be to use a small cookie sheet from Dollar Tree’s kitchen section for this craft. I didn’t have one at the time and made do with this tray. You can use a hot glue gun to adhere the cookies to the tray.
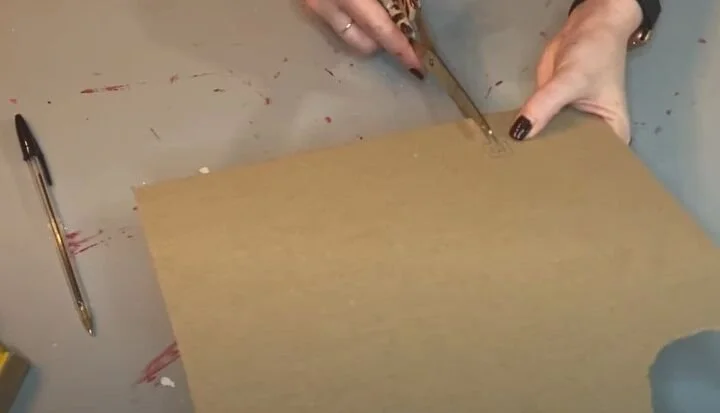
Step 5: Cut out a spatula
For this next step, I quickly drew an outline on a piece of cardboard using pen in the shape of a spatula. I didn’t follow any template, I just drew this from looking at a full sized spatula in our kitchen. Then I cut it out and made the handle of the spatula smaller with my scissors so that this could fit in the tray.
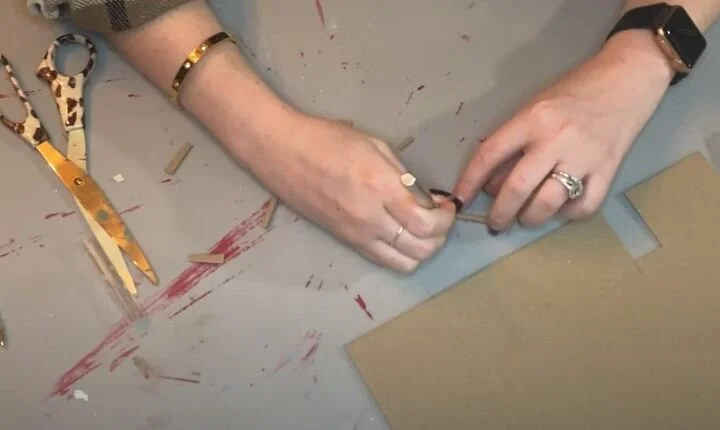
Step 6: Cut holes
The spatula comes out to around 2 inches tall so it’s a little hard to show in pictures as I’m doing this but I then used an X-ACTO knife to carefully cut holes in the cardboard spatula to make it look even more realistic.
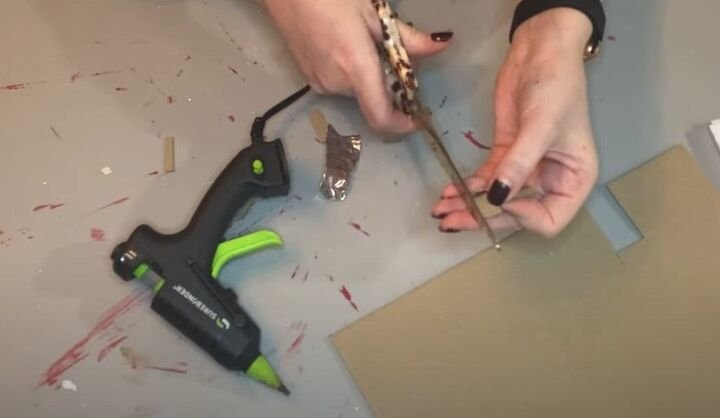
Step 7: Wrap spatula
Next, I thought it would be fun to make this look like a metal spatula. I grabbed some aluminum foil and wrapped the top part of this cardboard spatula in it. To secure the aluminum to the cardboard top, I used a very small amount of hot glue.

Step 8: Re-make holes
Once you have the aluminum foil topper added, you can use the X-ACTO knife to cut slits in this to match the cardboard cutout. Check out the first and last photo in this article to see a close up of the spatula. Then, I decided to paint the handle of the spatula with the color “mineral” chalk paint from Waverly by Plaid found at Walmart.

Step 9: Paint a mitten
For another finishing touch to this tray, I painted this wooden cutout of a mitt that I found at Dollar Tree. This was from one of their Christmas wood cutout sticker packs. I’ve seen this same pack of sticker wood cutouts for the past couple of years so they should have this out now at your local Dollar Tree. I’m painting this using the color “lacquer” from Waverly found at Walmart and it is an acrylic paint so it takes just a little longer to dry. Once you’ve added enough coats to get the color to your liking, this is ready to be added to your cookie sheet too.

Step 10: Hotglue final pieces
Final step is to hot glue down your oven mitt and spatula!
Step 11: Fit final pieces
Everything should fit ever so nicely in your tray. Scroll down for the final look!
Adorable! These were so easy to make and you could apply them to so many other holiday decor ideas.
Watch the full tutorial from my YouTube channel, The Crafty Quinn!